First Setup
The following steps should guide you through the initial setup and first run.
1) Connect USB cable to your PC Notebook / Raspberry PI / Macbook
The Arduino can be run on any system that has a G Code sender that supports GRBL – like UGS or bCNC. (Refer to the section on UGS installation for a step-by-step guide). Locate the USB cable in the package and connect it to the Arduino on the control board and the PC / Mac or Raspberry Pi on the other end.

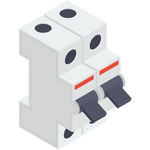
2) Plug in the Power
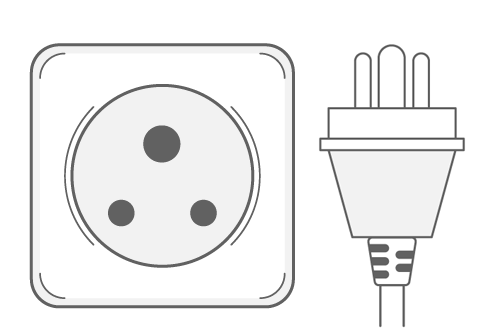
Plug the power cable into the power socket and turn on the MCB on the control board to power up the machine.
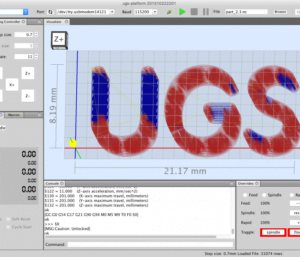
3) Connect to G code sender and Home Machine
Open UGS or the gCode sender of your choice and connect to the CNC. Hit the Home button and the CNC should perform a homing operation.
4) Test the Spindle

With the Spindle MCB on, press the run button on the VFD to ensure that the spindle starts up. Change the spindle speed with the jog controller on the VFD
5) Installing a Bit & Collet on the Spindle (Generic)
Now, you are all set to start machining!!!